Pranešimai

Damaged 3D printer glass bed repaired with 5-minute epoxy!

Vaizdas
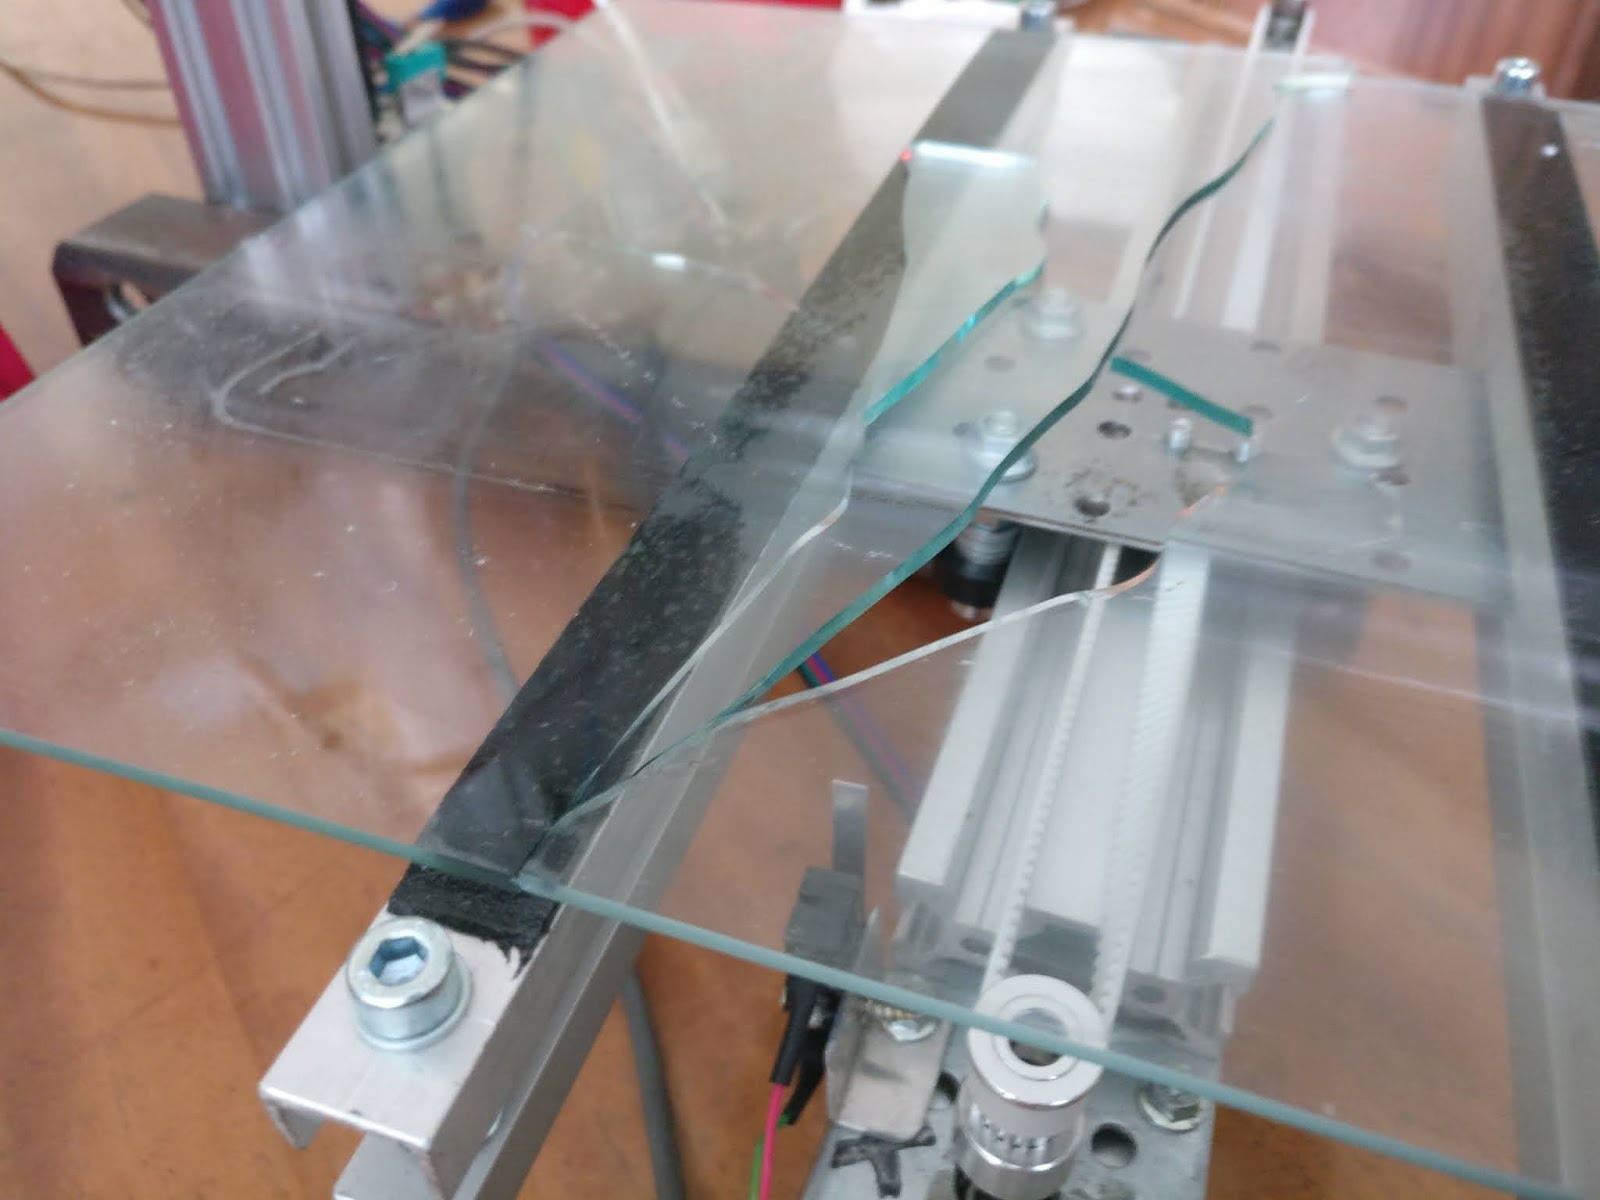
     Just recently I had a print tear out a huge chunk of glass out of my print bed. I was printing a cover for my 18650 battery holder and this cover had a large, completely flat surface laying on the glass bed. This is great for surface finish but in my case it stuck too well and took chunks of glass with it when I pulled the print off.  And it had only been two weeks since I made my homemade heated glass bed so I did not feel like throwing it out and making a new one. Fortunately the chunk was not in the middle of the bed but even then I would lose 30-40% of my print area because I would have to avoid the pit caused by the missing glass. But as one wise man said many times - "I'm not havin' it!".     So I hatched a plan to fix the heated bed and to do that I decided to use the cheapest 5-minute epoxy from the grocery store. I mean, what's the worst that could happen? Worst case the epoxy just pulls off the glass with the print and I'm left with exactly w...

3D printing a new shift knob for my SAAB.

Vaizdas
       The soft plastic outer shell on my shifter knob broke away and was kind of just hanging on there. Shifting gears wasn't too bad but the plastic shell kept moving up and down on the shifter until it fell off completely leaving me with a sharp white plastic piece that was very awkward to hold.      This seems like a common thing with SAABs because my previous one had the same happen to it too at some point because the outer shell was already gone when I bought it. Back then I just wrapped the remaining plastic bit with black felt tape and called it a day. But now I have a 3D printer, so why not print myself a new knob? And that's exactly what I did.     First I measured up the remaining plastic part, onto which the soft plastic shell was attached. Then I whipped up a design in Fusion360 based on those numbers. I didn't really know what shape was best for a shifter so I just eyeballed it. I think it came out ok but could still be improved...

Homemade heated glass bed for my 3D printer.

Vaizdas
    A couple months ago I finished my third homemade 3D printer. The objective was to make it as cheap as possible by avoiding all unnecessary expenses. In the end the printer came out well under 100€, with almost enough to spare for a 1kg spool of PLA.     One of the cost cuts was to omit a heated bed and instead use a piece of regular window glass as the bed surface. With the help of a heatgun the temperature of the bed could be brought up before a print and most of the time that would be enough to keep the part stuck to the bed.     The problem with heating the bed this way is that it's hard to keep the heat uniform and all the hot air coming from the heatgun also interferes with the hotend and causes instability so it was not ideal.  Nevertheless I continued printing this way because it already worked well enough for the small prints I was making.      Not long after completing the printer I overheated the piece of glass and caused i...

Estimating the characteristics of counterfeit MOSFETs.

Vaizdas
      I needed some MOSFETs for a four channel constant current load but didn't have any besides some counterfeit IRL3803 MOSFETs I had received from aliexpress. I mean these are still MOSFETs inside, just very small ones. For my load I need something that can handle 1A and max ~5W dissipation, so let's take a look at the silicon die and see whether these will work or not. The method described is only good for a rough estimate, but at least allows you to make use of the MOSFETs instead of tossing them away.     First I need to crack one open, which I already did when filing a refund, so that's done. I also need a genuine MOSFET as reference, that we'll use to extrapolate the approximate characteristics of the counterfeit MOSFET. For this I chose a blown NTD70N03R.  I used this website to take the measurements: https://eleif.net/photo_measure.html     The area on the fake IRL3803 die is abut 1.45sqmm and the area on the NTD70N03R is about 6.6sqmm, ...

Making my homemade spot welder stop blowing up. Or how I made my homemade battery tab spot welder.

Vaizdas
      I got a defective Airwheels pack from my internship and it had 64 18650 cells inside, of which 16 were dead but the remainig 48 were still good. And I saw this as a great opportunity to make a big lithium battery pack for other projects, like my homemade electric scooter, for example.     These packs are most often welded together with spot welders but I don't have one. Previously I used to solder to salvaged batteries. When I salvage batteries I leave a piece of the nickel strip on them so that I can solder to it later. But for a big pack soldering would take ages, not to mention how tedious it would be trying to get a good solder joint without cooking the cell. Oh and don't forget the mountain of solder it would take and all the fumes you would be huffing the entire time. Because of this I decided that it's finally time to build myself a battery tab spot welder.     I've previously explored the world of spot welders many years ago and even expe...