Pranešimai

Rodomi įrašai nuo rugpjūtis, 2020

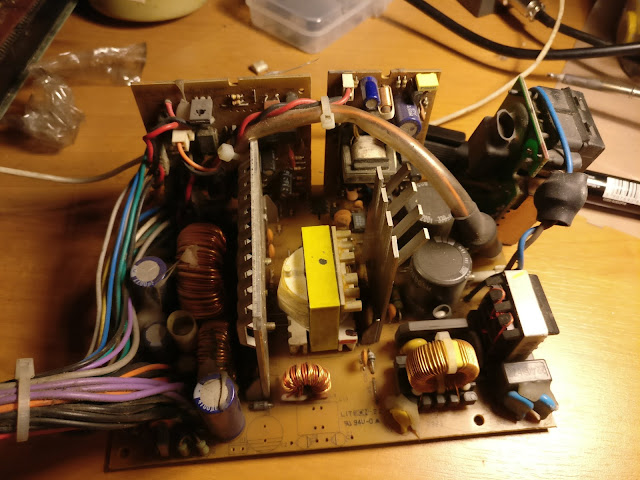
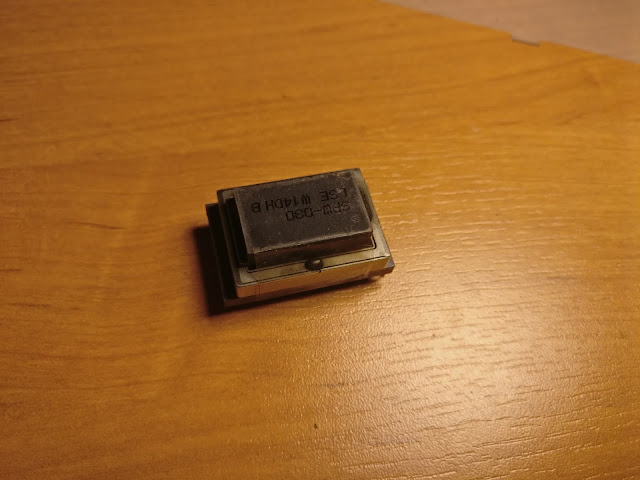
Playing with junk: the SN29764 (LM1017) 4-bit binary 7-segment display driver.

Vaizdas
    While digging through my parts bins looking for my spare arduino nano I came across a boart that I was keeping solely for the 7-segment display that was attached to it. I noticed that there also was an IC marked SN29764 on the board and got curious. After some googling I came up with a LM1017 datasheet, which states that it's an equivalent to the SN29764.      Basically what this IC does is it takes a 4-bit binary number through pins 2, 3, 4 and 5, and displays that number on a 7-segment display. Since this IC was made to display channels on a TV it doesn't display the number 0 but it displays numbers from 1 to 16. Pulling pin 1 down sets the display to full brightness.     I find it quite interesting that there would be a dedicated IC for this application but the world proves to be quite large and technology has sure advanced since the old days. There isn't a date code I can read on the IC but it might very well be older than me even, well I'm not even that old so

Modifying an old PC power supply into a lead acid battery charger.

Vaizdas
     I like driving my homemade e-scooter around and so does my younger brother and now also my friends, but the battery is weak and requires charging often. Up until now I've been charging my battery through an old UPS that I found thrown out. The UPS had a dead 12V lead acid battery so it was already set up to charge and maintain lead acid batteries. Sounds great, but the problem is that it charges at only 0.6A and to charge something like a 52Ah battery would take over 80 hours, which is forever. So I decided to make myself a battery charger.     I've tried making a battery charger out of an ATX power supply before but the problem is that they're not meant to go far over 12V and if I remember right mine could barely reach 13.5V and to bulk charge a lead acid battery you want 14.4V. The reason why they can't go much over that voltage is that they're based on a push-pull topology, which means that the output voltage is limited by the transformer primary to secondar

Homemade bug zapper to save my dog from the horde of horse flies.

Vaizdas
    This year there's seemingly no end to flies and I mean those that bite. These biting flies are also known as horse flies. The buggers have been pestering my dog and absolutely driving the poor pupper insane. And not only my dog but also me since I can't do any work on my car without one of the bastards flying over to bite me in the legs. I already have to deal with mosquitoes sucking me dry during the night and now I have these flies biting me during the day, which is no bueno. And I'm having none of it, it's time I did something about this flying menace.      I previously tried the bottle trap but it didn't work as it only caught a total of one fly during a whole week. This time I want something big, I want high voltage. So first let's make the driver.      I plan to use a 9V power brick to power the zapper and of course 9V is not enough to zap a fly so I need something to step the voltage up. For this task I used a high voltage transformer taken from an ol

Homemade electric scooter part 2: The Upgradening.

Vaizdas
     Over the night the upgrade fairy came and pimped my electric scooter. And by upgrade fairy I mean me, I did the upgrades.      Anyways, the scooter badly needed a seat. There wasn't enough space on the deck of the scooter to stand on and I didn't feel like lenghtening the frame, so the seat was the most logical option. And of course I kept on with the theme of this build being completely from scraps while making the seat as well. For the seat frame I used some more of the 25x25x3mm angle iron I had around. I used the existing holes and mounting spots in the frame to mount the seat. On top of this frame I added two pieces of pallet wood to sit on, as raw metal happens to be a bit rough on the cheeks.     This seat frame also doubled as a new mount for the motor, in fact it worked out much better than the previous mount because it held the motor much more securely and allowed me to adjust the motor position and roller tension. Also the previous mount had some welds in it to

Homemade electric scooter ( for free ?! )

Vaizdas
    Recently my friend rolled up to my house with his new electric scooter and today I finally snapped and decided to make my own. These scooters happen to be quite expensive, the one my friend had cost him 500€ - that's more than my car! I'm trying really hard to save up for another car I'm restoring so anything more than "for free" is too expensive for me. Fortunately I happen to have a bunch of junk laying around ready to be repurposed. So let's get into the build!    First I had to find what I think is the most important part, which is the electric motor. When you see a DIY electric scooter it either has an off the shelf motor made for scooters, or a large BLDC motor, these can be expensive and hard to find. Some smaller scooters use cordless drill motors, which are rather weak, and some even use alternators converted to BLDC motors, which require drivers and the alternators themselves are really big. Another option is to use hoverboard motors for scooter

Infrared RGB LED controller using Digispark (Attiny85).

Vaizdas
    While building a PC I thought I'd toss in some RGB to see how it looks. Problem is I had lost the receiver. Bummer! But I still had the remote, so I decided to make my own RGB controller. For this project I chose to use the Digispark, which is like an arduino but is based on the Attiny85. A regular arduino like the arduino nano, or even any other microcontroller like the STM32 "blue pill" can be used for this project. In this case I wanted a small microcontroller, something like an atmega328p would have been a bit of an overkill.     Before I could make my microcontroller do anything I had to find out what my remote was transmitting. To do this I used my OWON VDS1022 USB oscilloscope, with which I saved the samples of the waveform in a .txt file. The bitrate of the signal transmitted by the remote is quite low so something like a DIY audiojack oscilloscope (look it up) would work also. The .txt file then was passed through a matlab script I quickly put togeth