Old LPG tank makes for a pretty robust grill.
We had this old grill that was all in tatters, quite literally. And for whatever reason noone, except for me, wanted to replace it and just kept adding on more scrap metal to keep it together. I thought enough is enough and I'm not cooking anything on that pile of scrap anymore and started making a new grill.
For my grill I took one of my brother's LPG tanks that he had cleaned and modded to be used as a compressor tank. But that was 4 years ago and not much has happened, besides the rust on the tank because it basically sat forgotten outside the whole time. So I've decided to yoink the tank and turn it into a grill. LPG tanks in particular have an expiry date, after which they need to be re-inspected but the inspection usually costs almost the same as a new tank so people choose just buy a new tank instead. This means that there's a surplus of old LPG tanks. But the amount isn't huge as the inspection period is 10 years. Since these tanks are made to handle high pressure they are made of some pretty thick steel, which makes them great for making a very robust grill.
Warning: LPG tanks, or any fuel tanks, are dangerous and can explode quite violently, which is why clearing out the residual gas is important. Proceed at your own risk!
Here's how I do it: For starters you need your tank to be de-pressurized so that there's no pressure when it's opened. You can look for an empty tank or find ways to dispose of the gas. Next you need to fill the tank fully with water and then drain the water out several times. After doing this your tank should be safe to cut apart. You can then choose which way to cut the tank apart to make your grill.
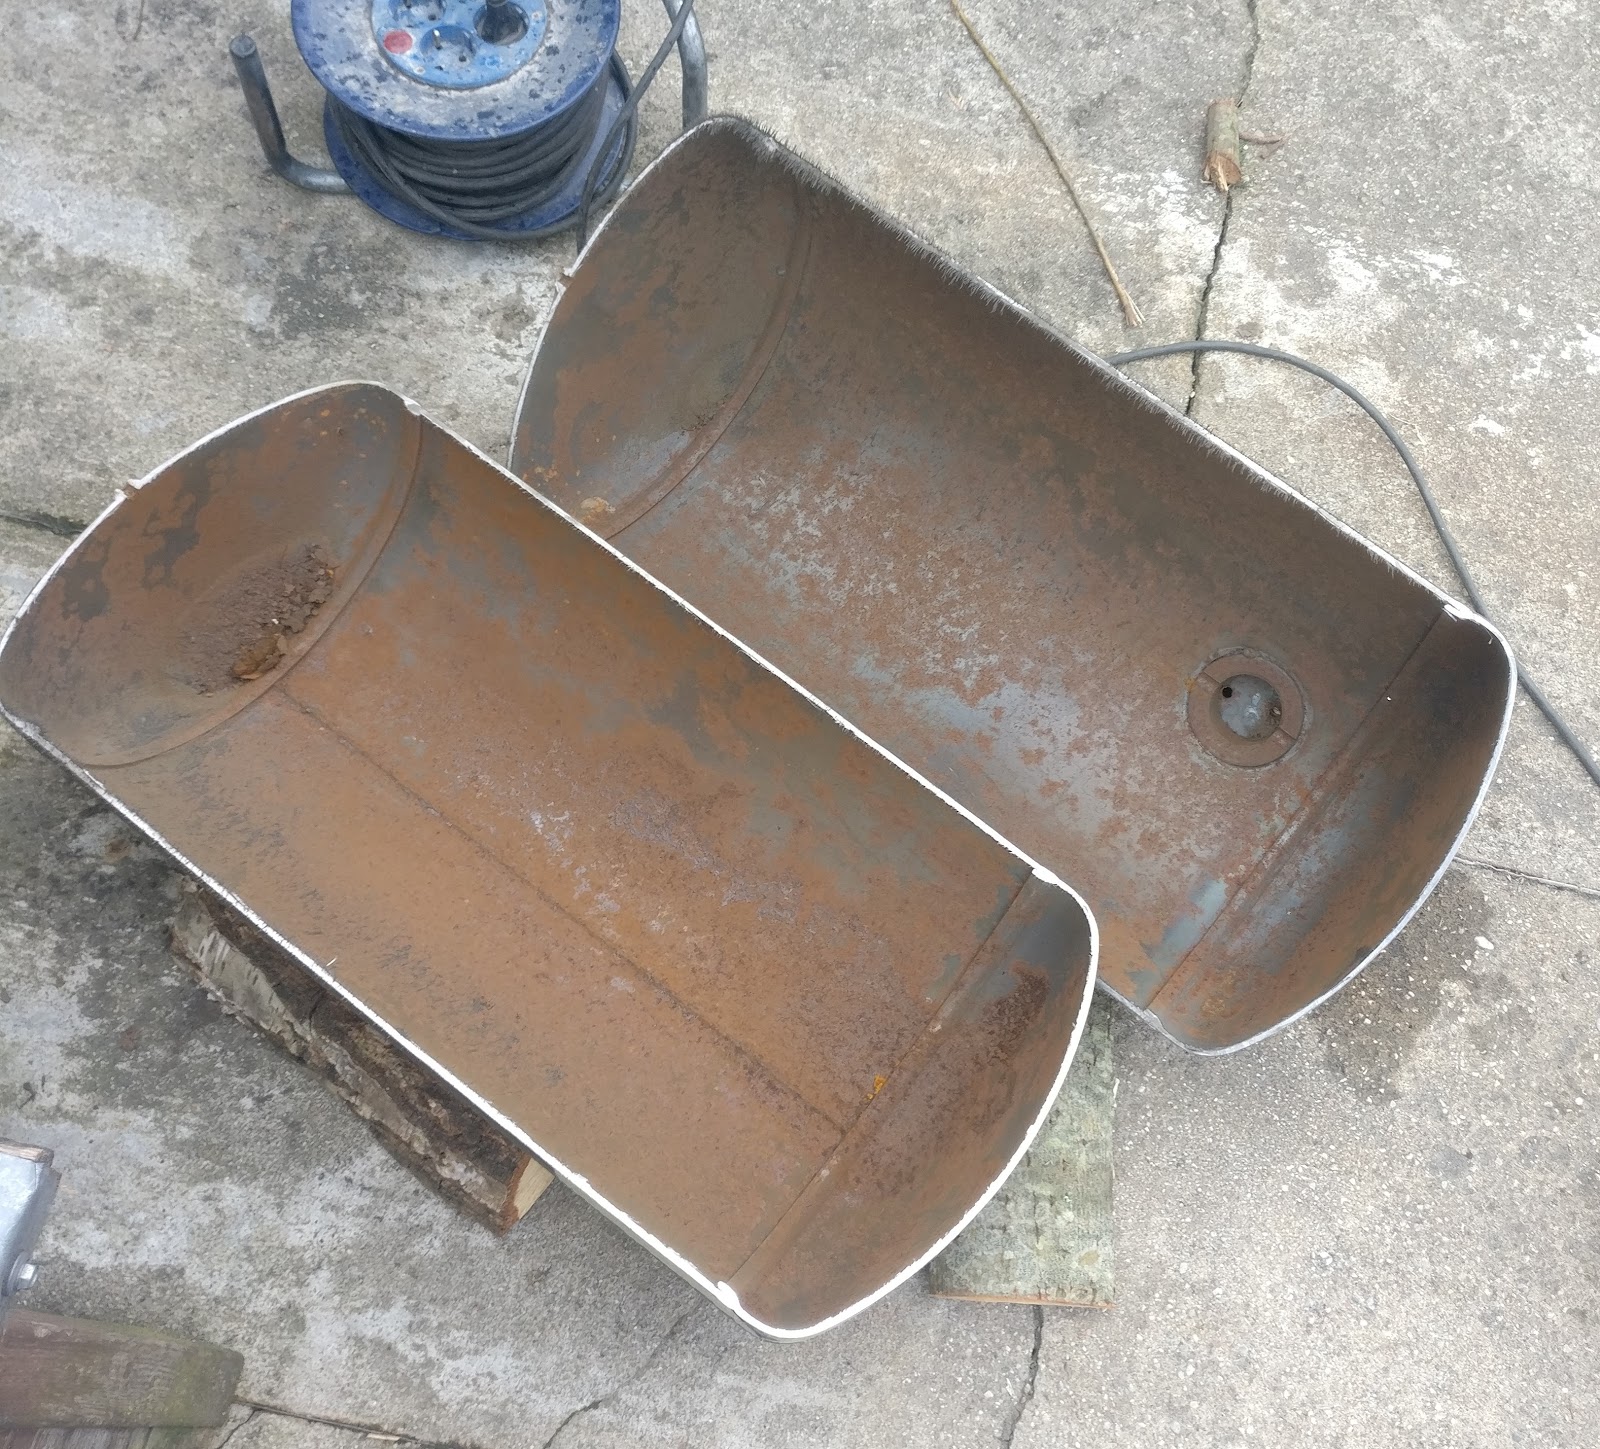
My tank was like a barrel and I chose to cut it right through the center to make one half lift up and act as a lid. To do this I needed to mark out a line to cut along so that the two halves sit flush against each other. I also wanted the cut to be straight for aesthetic reasons. To do this I first used a piece of angle iron and laid it on the side of the tank. Since the tank is round the piece of angle iron sits in such a way that the edge of it runs perfectly straight along the side. To confirm that my line is correct I went the extra mile and confirmed that it's straight with a level. To do this I place the tank so that my line is at the top, such that the level sits on it level. I then place the level on the other end of the line, level it and check if it's sitting on the line.


Next, a line was drawn on both sides and to continue the line over the domed sides I laid a piece of masking tape such that the edge of the tape ran along the line, this made it easier to mark the line. I had to be careful when laying the tape to keep it going straight. After I had marked my line I gave it another look to make sure it was straight and then proceeded to cut the tank apart with my angle grinder. Wooden blocks were used as wedges to keep the tank from rolling around.


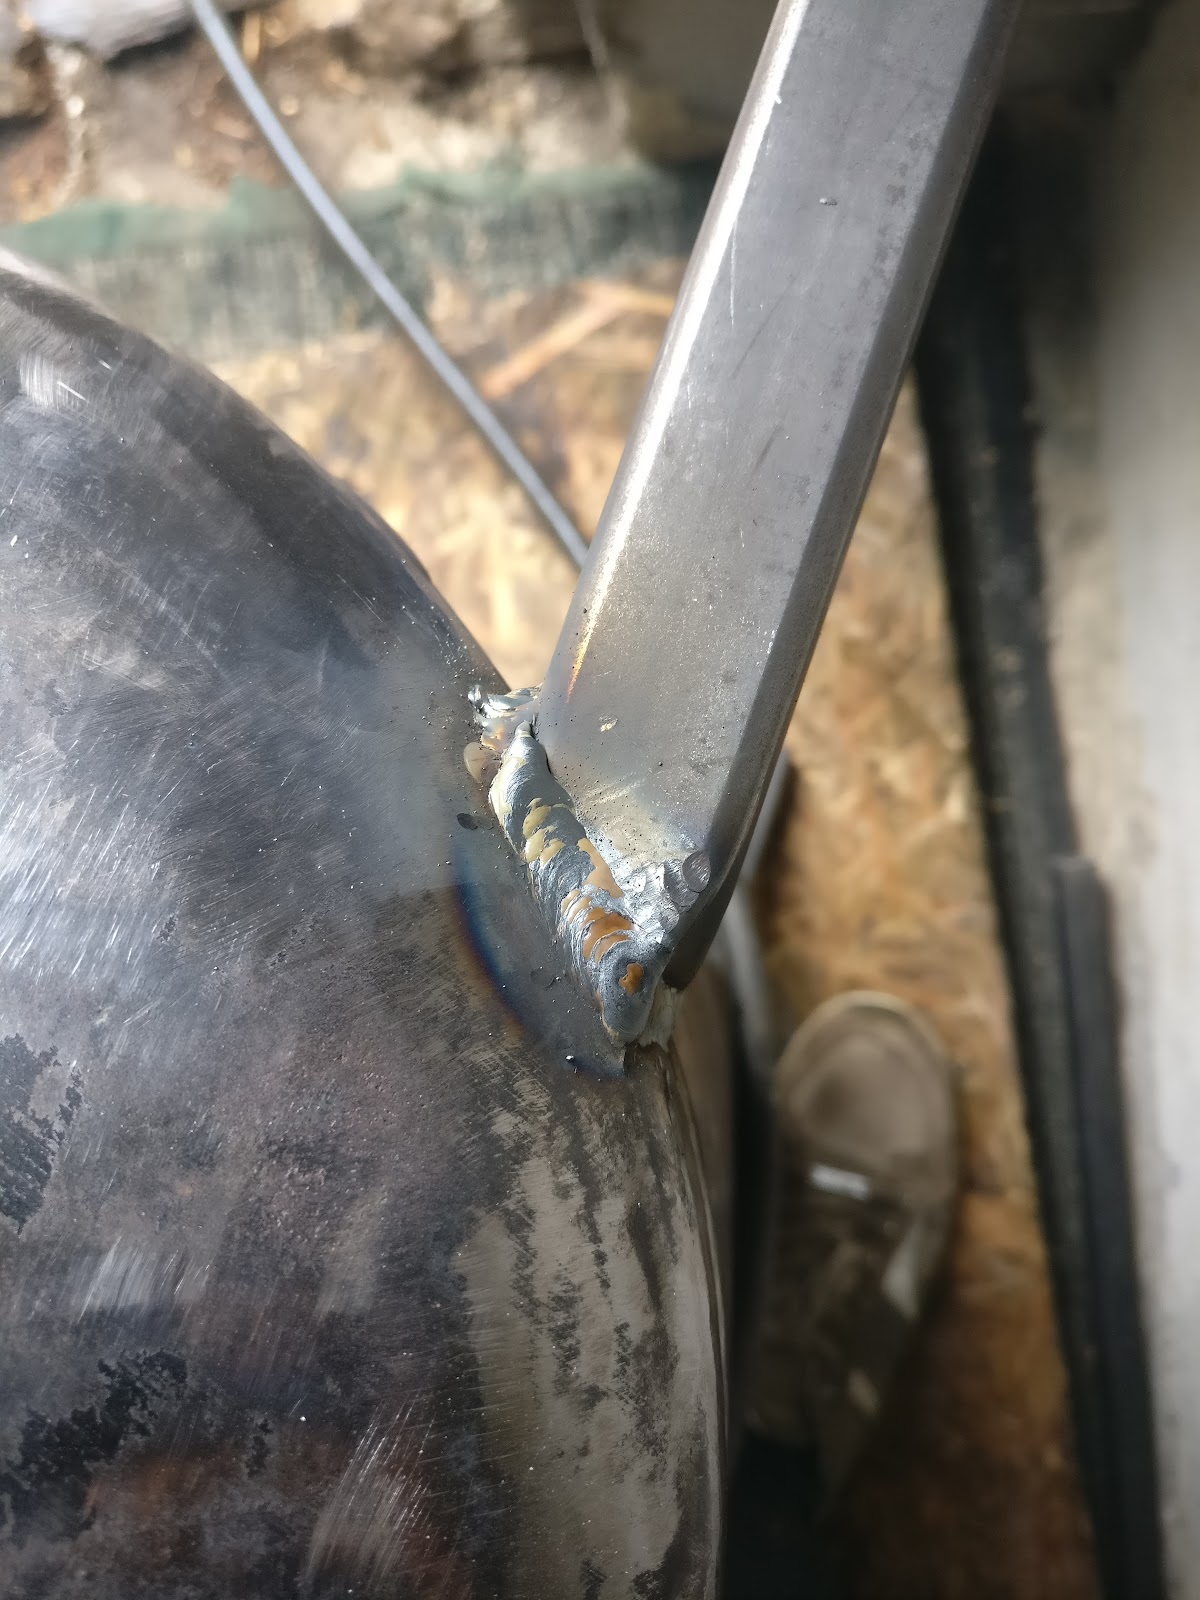
After the leg receivers were welded I placed the lower half of the grill on the ground and placed the top half on it. Some bungee cords were used to tie the two together to keep them from moving. The top half was bumped into place and hinges were welded on the grill.

The hinges were made from 10mm thick round stock with nuts welded on the ends. One side of the hinge received an M8 nut while the other received an M10 nut. This way the hinge not only moves freely but also has some wiggle room, which helps keep it from jamming and makes the assembly easier. M8 bolts thread into the M8 nut tying the hinges together.

After that I welded two nuts on both sides and bent up some more 10mm round bar into frames that will later be turned into tables that can be removed from the grill. The size of the tables was chosen such that they would fit inside the grill for storage.


And of course right as I was finishing up my paint job I noticed spot I had forgotten to weld. Fortunately it wasn't critical because there was another weld on the other side of the part.

And just like that the grill was finished. All that was left to do was to fire it up to see if the paint really is high temp. And maybe cook something up, who knows?


I didn't build up quite enough charcoal inside to get the grill very hot but it was enough to cook up a pack of sausages pretty well.

And just like that the side-tables proved their usefulness. No longer do I need to scramble for a table of a stool to hold my stuff. Of worse yet - place my plates on the ground, yuck!


Komentarai
Rašyti komentarą