Pranešimai

Turn your SAMD10 Xplained Mini devboard into an SWD programmer for SAMD10 MCU's

Vaizdas
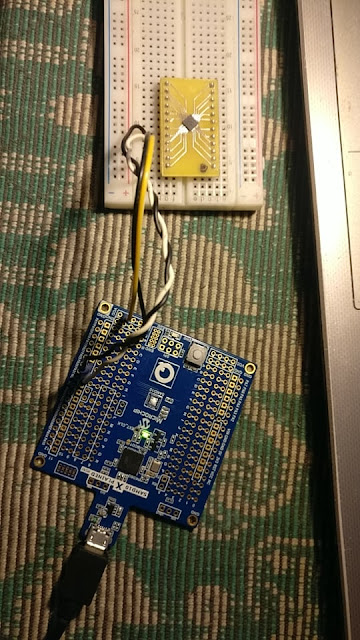
      Recently I posted how the SAMD10 Xplained Mini can be used as a standalone programmer/debugger but then I had to remove the on board SAMD10 chip to be able to use it.     I've since realized that it's wasn't the best way to convert the dev board into a programmer so now I've made a modification to the board that allows me to program external SAMD10 MCU's without having to desolder the on board SAMD10 MCU.     Here's how:           On the board, right under the letter "I" in Xplained there are two 330 Ohm SMD resistors. These resistors are in series with the ATMEGA32U4 and the SAMD10 MCU and are there so that the SAMD10 MCU could be programmed with an external programmer without the ATMEGA32U4 interfering. If these resistors are removed the SWD link between the ATMEGA32U4 and SAMD10 will be broken.       Then by using the prototyping area on the board you can solder a 2x2 pin header and connect the...

Pretty advanced looking Soviet flip-chip SMD IC from 1991.

Vaizdas
       I was throwing a bunch of stuff out and found an old PCB with a very curious looking SIL package, that was encased in a plastic shell. And me being as curious as I am I had to tear it apart to see what's inside, and I'm glad I did. What I found inside were SMD components, which is pretty advanced stuff for 1991, not to mention a flip chip SMD IC, fancy. I believe this thing came from an old TV but I might be mistaken, anyways here are some photos. Backside of the substrate has some capacitors/quartz crystals? Chip desoldered. Underside of the chip.

DIY probes for plated PCB pin holes.

Vaizdas
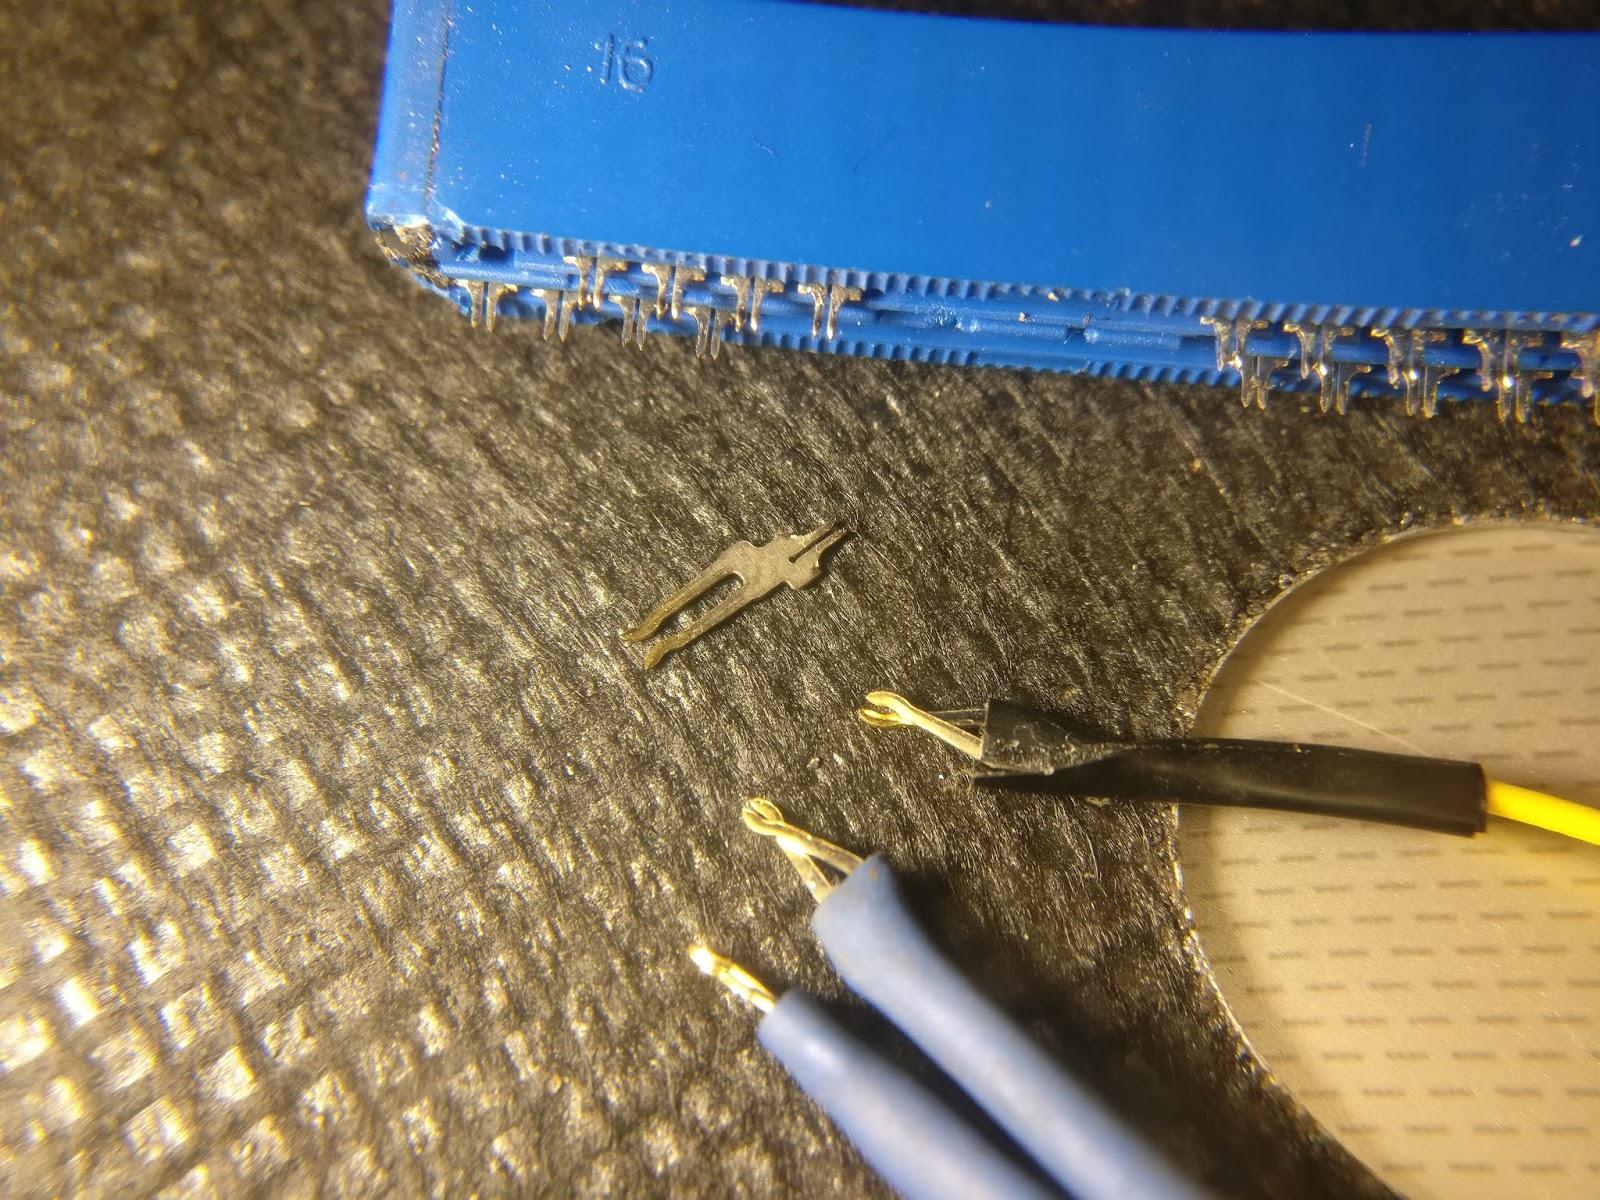
      When I received my SAMD10 Xplained mini it came with no pins, which makes hooking up to the board a little more difficult. A regular breadboard jumper wire is too loose in the hole and does not make a reliable contact, not to mention how hard it is to heep in place.  So I came up with a way to make probes to plug into the plated holes in the PCB reliably and firmly. To make them you only need an old IDE/floppy cable, some wire and either heatshrink tubing or electrical tape.       First you take the back plastic piece off the IDE cable connector, this plastic clip keeps the cable in place. You can rip it right off because we don't need it. After you take it out you can then pull off the IDE cable. This leaves you with only a bare connector with some spikes sticking out where the wire used to be. These spikes are the contacts for the IDE connector and they're what we're going to make our probes out of.      Secondly, you t...

Your SAMD10 Xplained Mini board can be used as a standalone SWD programmer/debugger.

Vaizdas
      Recently I dived down the rabbit hole of SWD programmers because I chose a SAMD10 MCU for my project, which is programmed through SWD. But guess what, SWD is not SWD but it also kind of is? If you program STM32 devices you will no doubt know what SWD is and that your ST-link can be reprogrammed to be a J-link. And J-link is supposed to be a general purpose SWD programmer that works for everything right? No. When I reflashed my genuine ST-link to J-link it would talk to Atmel studio, everything seemed like it would work but nothing did. Turns out this SWD interface is only an SWD interface when a ST microcontroller is connected but as soon as it touches Atmel stuff it goes "Not supported" and refuses to talk. Like why? Is this Cortex M0 device not a Cortex M0 device, is this SWD not SWD? We'll never know.     So I start looking for alternatives and one forum member pointed me to a dev board named the SAMD10 Xplained Mini, which just so happens to have the e...

Visible phosphorus aging on cheap 10W COB LED modules.

Vaizdas
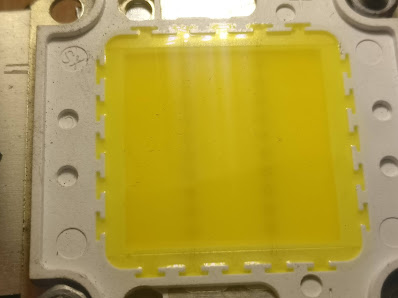
      About a year ago now I tore down my old lab with the plans to rebuild it into something bigger and better. And today when cleaning up I found my old LED overhead light that I used to light up my workbench. When I looked at the LED modules I noticed something strange and decided to write a blog post about it.  The strange thing I've noticed is what I assume is aging of the phosphorus gel used to convert the blue light from the LED chips to something more eye-friendly.     The first picture below is one of an LED module that failed early (how typical of these COB's) and you can see that there's a little black halo around each of the LED chips but nothing more.      Second picture is of an LED module that lasted much longer and you can see how the phosphorus has darkened and it almost looks like it has become more translucent. Also the dark area around each of the LED modules is much darker and bigger.      In the third pict...

DIY bug zapper: an update.

      It has been a while since my bug zapper was deployed and many things have happened since. So here I will share what sort of stuff I've tried with the zapper to make it more effective and what I've found out in the process.     When I first put the zapper up I had to figure out how to bait the flies into the trap, but what do I use? First idea was to use a solar powered garden light as could be seen in the original post. This didn't really work that well and bugs weren't really inretested in the light emitted by the LED. So I had to come up with something better. Since the horse flies love meat I thought I'd put a piece of sausage on a plate and place it inside the zapper. This also didn't work so as a last ditch effort, and since I knew horse flies are also attracted to CO2, I put some yeast along with the sausage and poured a little water to moisten the bait up. And guess what? It still caught nothing. Well at least my shed smelled of bread now. At this p...

Don't put just any plastic in your laminator. (Experiment)

Vaizdas
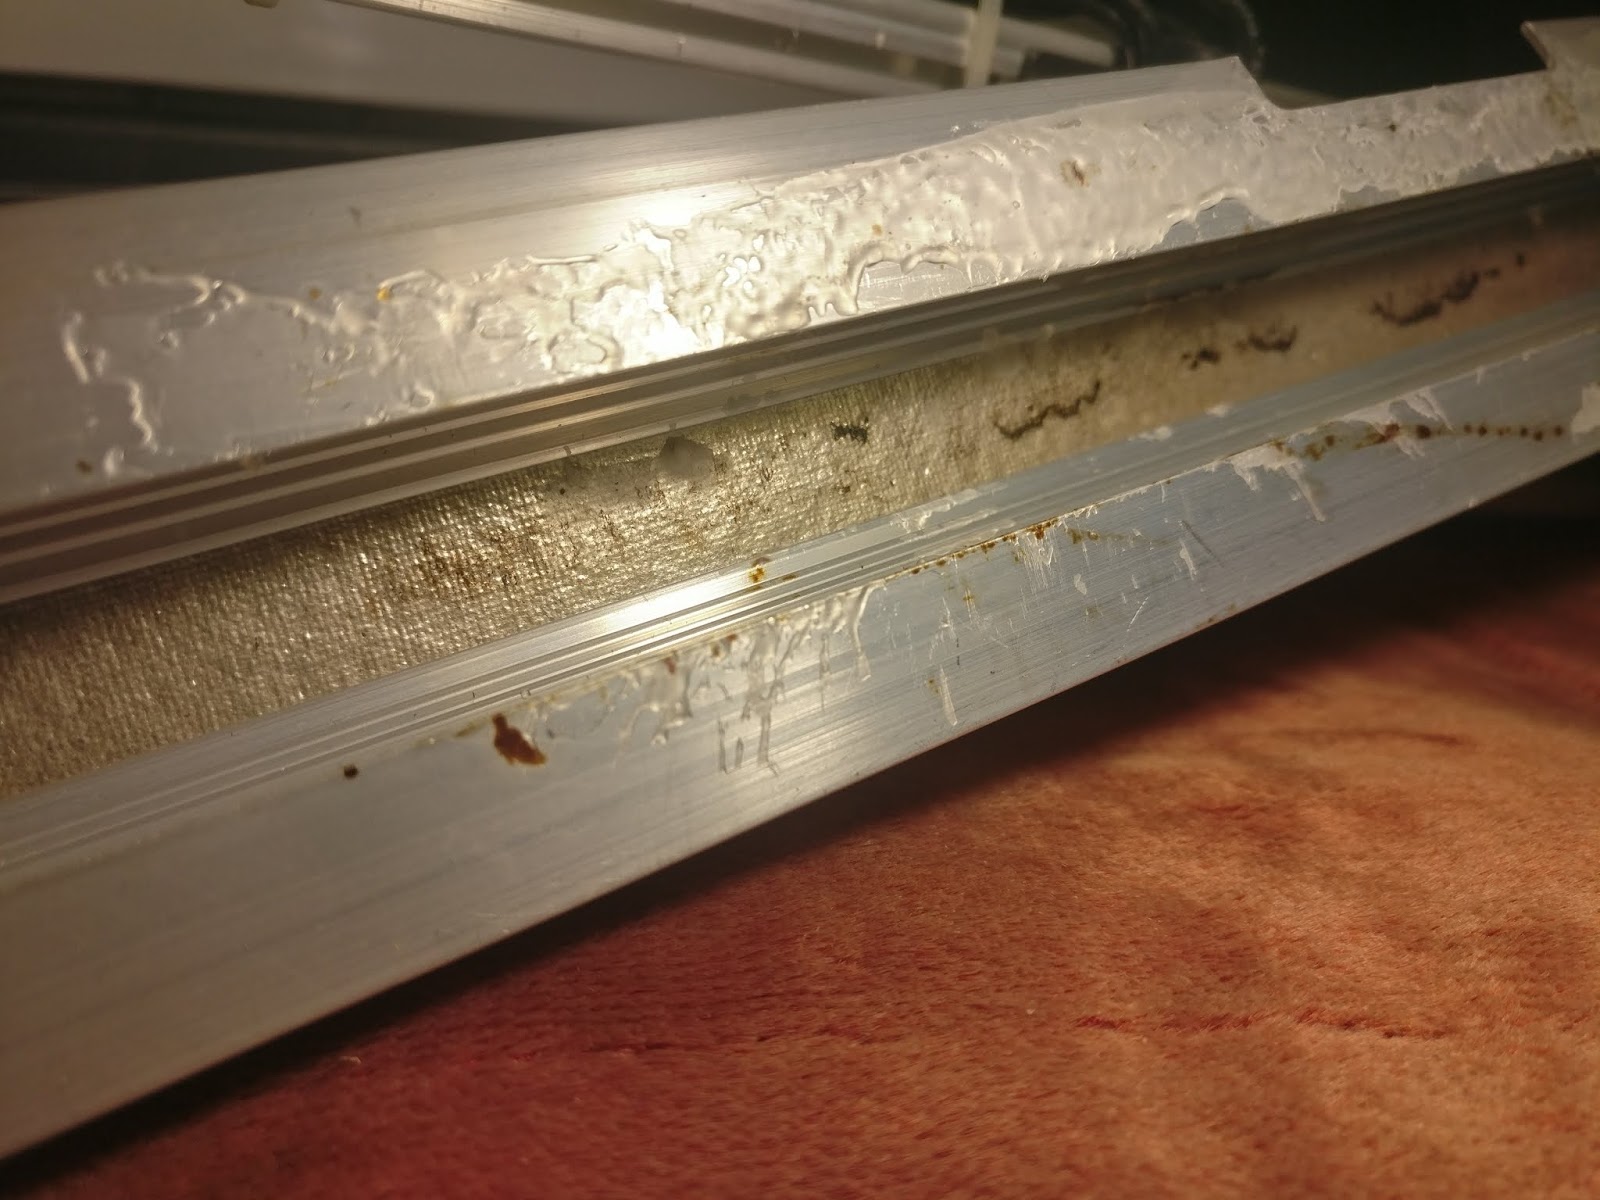
      It's one of those d o as I say and not as I do stories and it goes like this. Basically some months ago I found a laminator at the dumpster. First thing I did when I took it home was to plug it in to see if it works. At the time it didn't work and when pressing the power button would only turn on for a split second. At that point I didn't go any further into troubleshooting the laminator because I didn't have any time and just like that it sat forgotten in the basement for many months. A few days ago I had the need to whip up some PCB's quickly and I remembered that I have a laminator which I could use to make the PCB's.     So I dug the laminator out from the pile of stuff it sat in and plugged it in to confirm that it still doesn't work. And of course it didn't. So I pulled it apart to check if there's anything obvious inside and there wasn't so I thought what would hapen if I held the power switch pressed in. So I held the power switch i...